
Knife Knowledge
Learn. Sharpen. Master.
Everything we know about Japanese knives, from first purchase to blacksmith sourcing. Guides, maker stories, sharpening tutorials, and more.
3
Articles
23
Topics
hrc
hrc
Double Bevel Knife Sharpening — How to Do it Right
Double Bevel Knife Sharpening Double bevel knives are incredibly versatile. They are one of the most commonly found k...
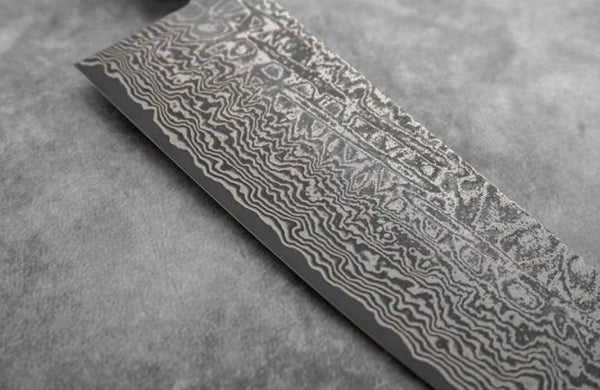 Damascus steel
Damascus steel
Damascus Steel Kitchen Knives | Guide & Info | Chef's Edge US
Learn about Damascus steel kitchen knives. Discover the history, performance benefits, and aesthetics of layered ste...
 blade materials
blade materials
How to Make a Japanese Knife
How to Make a Japanese Knife Many people have a deep and entirely justifiable fascination with Japanese knives. Sharp...